Bootable USB for Windows 10
To create a Bootable USB for Windows 10 you must fulfil these requirements
- Any USB Pen-drive with Storage Space of minimum – 8 GB
- Windows 10 ISO file
- Laptop or Desktop computer
- Rufus Bootable Software
- Take a backup of the pen drive and format it
Once you have fulfilled all the requirements follow these steps
1.Attach the USB Pen drive to the USB port on your computer or laptop
2.Once You downloaded the Rufus Software, open it as Run as administrator
It will ask for admin access, select Yes.
3. It will automatically detect your pen drive and show your pen drive as shown in the image below
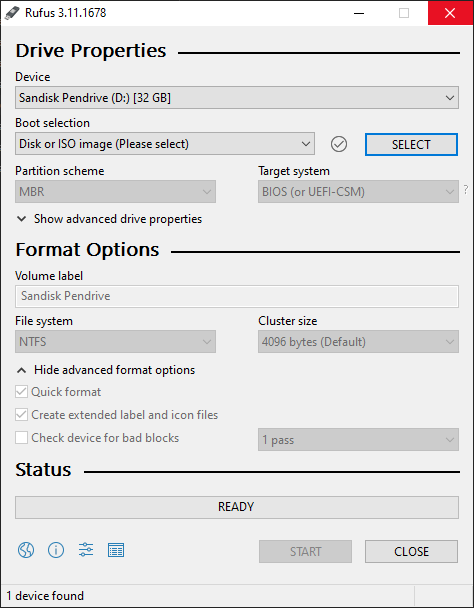
4.If the pen drive is detected on Device option, then go to Boot selection
5. On Boot Selection option select Disk or ISO Image from the drop down
6.On the right side you can see SELECT option click on it
7. It will open file explorer as show in the image
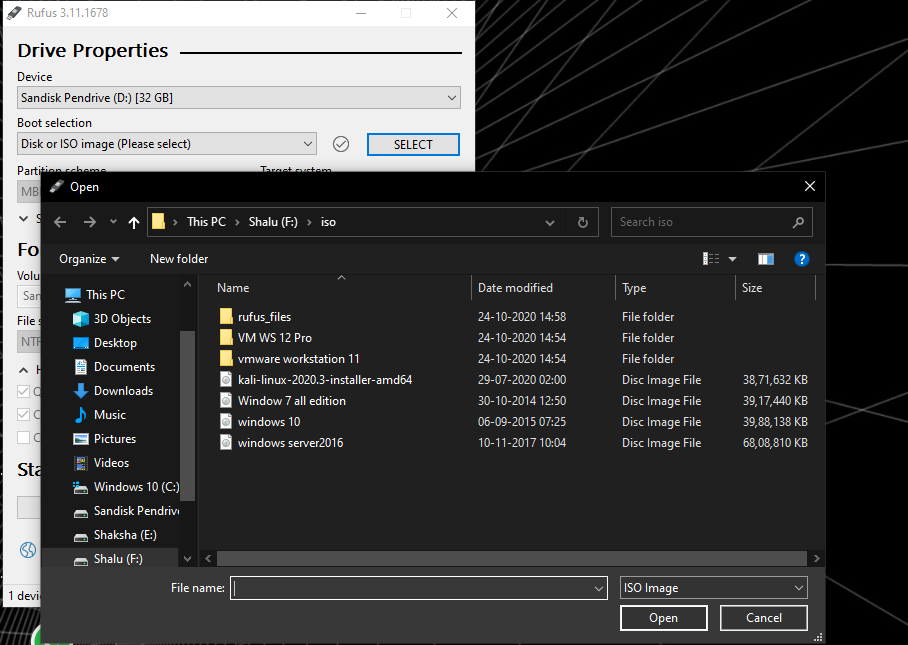
8. Select the image file of Windows 10 and click on open button
9.Once you select the ISO file then the configuration of Rufus Changes
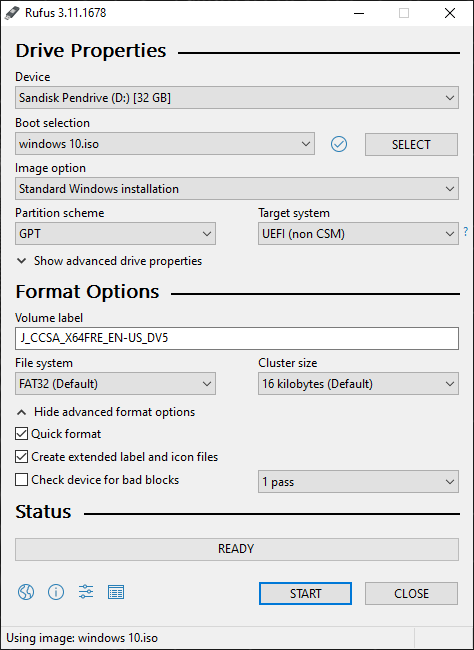
10. On the partition scheme select the option MBR
11. If your target system (Laptop or Computer Which you want to install OS) is new then go with this settings UEFI (non-CSM)
12. If the target system is older then go with BIOS (UEFI) as shown in the below image
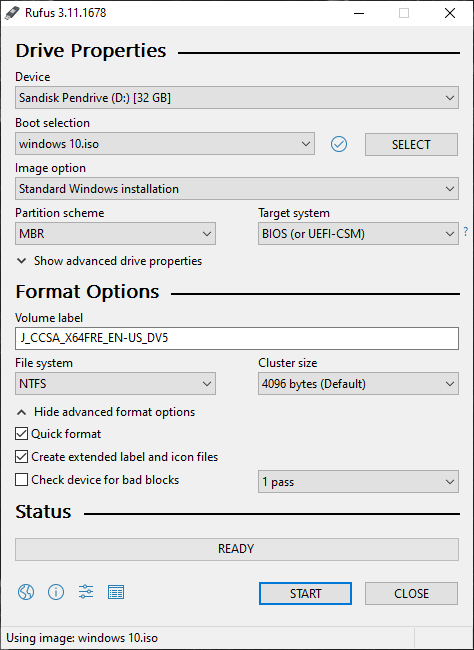
13. You selected the target device the Format Options will be changed, and file system also changes
14.It will delete all the data from the pen drive, once you click the START button it will ask you permission to formant all the data in the pen drive select okay
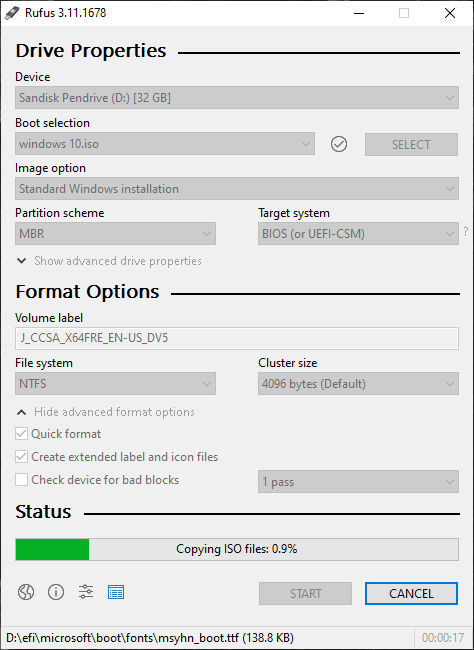
15. It will start the process of creating bootable USB as shown in the image below
16. Once the entire process is completed it will give you a notification and your bootable USB
Ready to boot from target system.
‘” Congrats you have successfully created the bootable USB for Windows 10.”


Leave a Reply